Label the physical item
Place a TapNota QR label on a storage bin, moving box, tool, appliance, piece of equipment, document container, collectible, supply, asset, or other item.
TapNota connects a physical item to its own digital Item Page. Use your labels on storage bins, moving boxes, tools, equipment, supplies, valuables, documents, collections, or nearly anything you want to organize and track.
Place a label on an item, box, bin, tool, or piece of equipment. Scan it and add:
Additional packs can be added to your existing account. Scan a label from the new pack and activate it using the same email address connected to your current TapNota account.
The new pack will be connected to the same account, allowing you to manage all of your TapNota items from one Portal.
Your Portal is your private organization dashboard. It is where you manage your entire TapNota account.
Each TapNota QR label connects to one Item Page. The page contains the information for the specific item, bin, box, tool, or piece of equipment wearing that label.
Scanning the physical label takes you directly to that Item Page. The information can be updated whenever something changes.
The Portal search tool does more than search Item Page titles. It also searches through the notes stored inside your Item Pages and lists every matching result.
Search for “Christmas lights” and TapNota can locate the correct storage bin even when those words appear only inside one of the bin’s notes.
You can also search for model numbers, part names, customer names, repair details, colors, locations, stored items, tag codes, folder names, and other information saved in your account.
You do not have to remember the exact Item Page title. You only need to remember something you entered inside it.
Folders help group related Item Pages while keeping everything searchable from one Portal. Create folders based on whatever organization system works best for you.
Moving an item into a different folder does not change its QR code. The physical label will continue opening the same Item Page.
Once the label is activated and its Item Page has been created, it does not need to be activated again. Every future scan opens the item’s current page.
Record everything inside bins and boxes so you can find items without opening every container.
Document valuables, appliances, electronics, furniture, keepsakes, and important belongings.
Store instructions, serial numbers, service records, maintenance notes, and repair history.
Organize inventory, office equipment, rental items, supplies, tools, and warehouse assets.
Attach instructions, care information, checklists, procedures, and important records directly to an item.
Share an Item Page with family, employees, customers, technicians, or service providers. Sharing can be changed or turned off later.
An active tag is a TapNota Item Page connected to a QR code. Your plan determines the total number of active tags your account can manage.
Claiming a purchased TapNota pack gives your account up to 600 included active tags and access to TapNota’s core organization tools.
Additional purchased packs can still be activated if they place your account over its included capacity. Your purchased tags will continue working, and your Portal will prompt you to upgrade for a higher account limit.
The number shown for each plan is the account’s total included active-tag capacity. Existing active tags count toward that total.
Choose the privacy and sharing setting that fits each Item Page. An item can remain private or be made shared or public, depending on how you want it used.
Optional 4-digit Item Page PIN protection is included with Pro and Business plans. A PIN is not required to activate your pack, create Item Pages, scan labels, or use TapNota.
Open your TapNota Portal anytime to search, organize, update, share, print, and reprint your active QR labels.
Open TapNota Portal →Choose original 2" x 2" labels or TapNota Minis 1" x 1" labels.
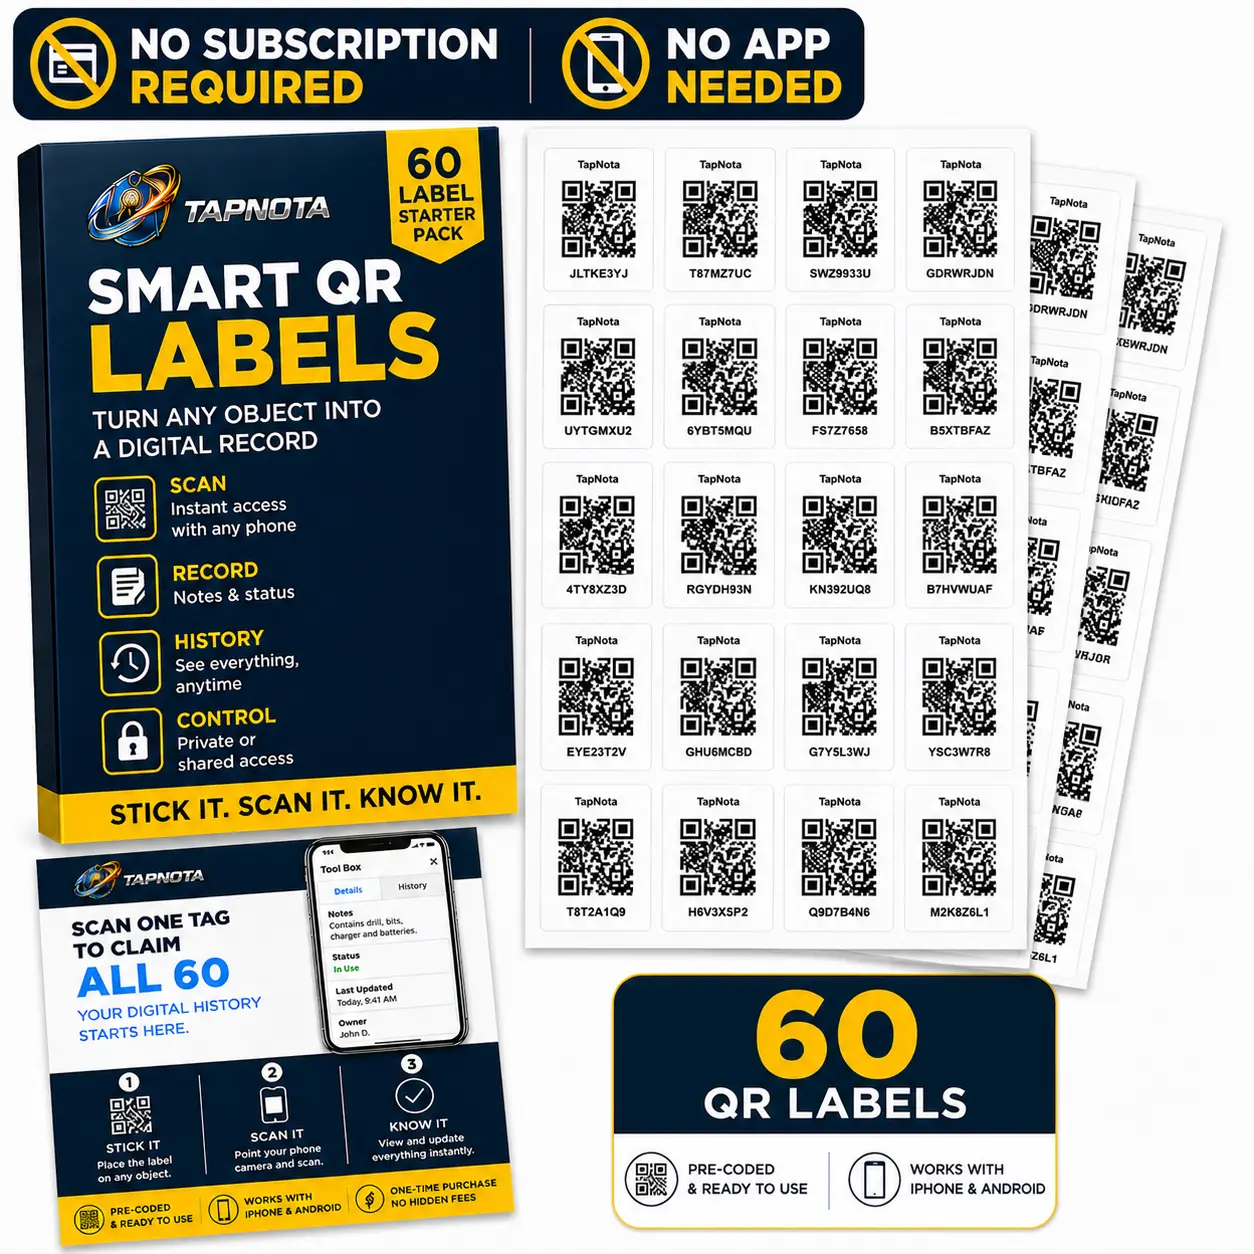
Starter pack for bins, boxes, and home inventory.
Buy on Amazon →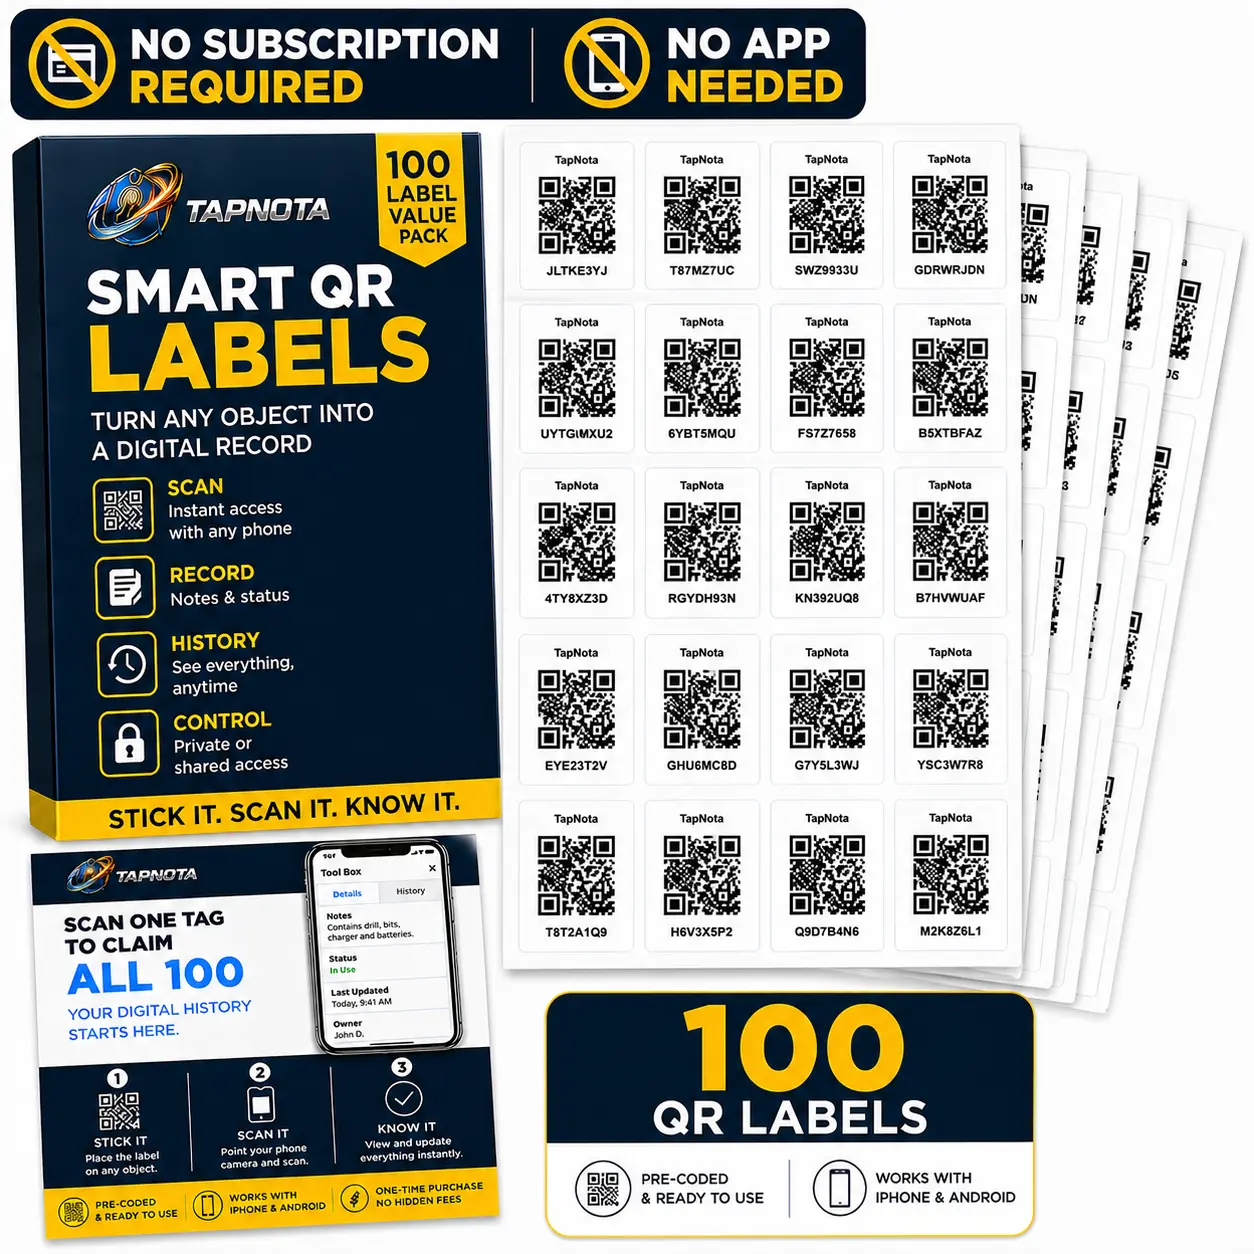
Great for bigger home organization projects.
Buy on Amazon →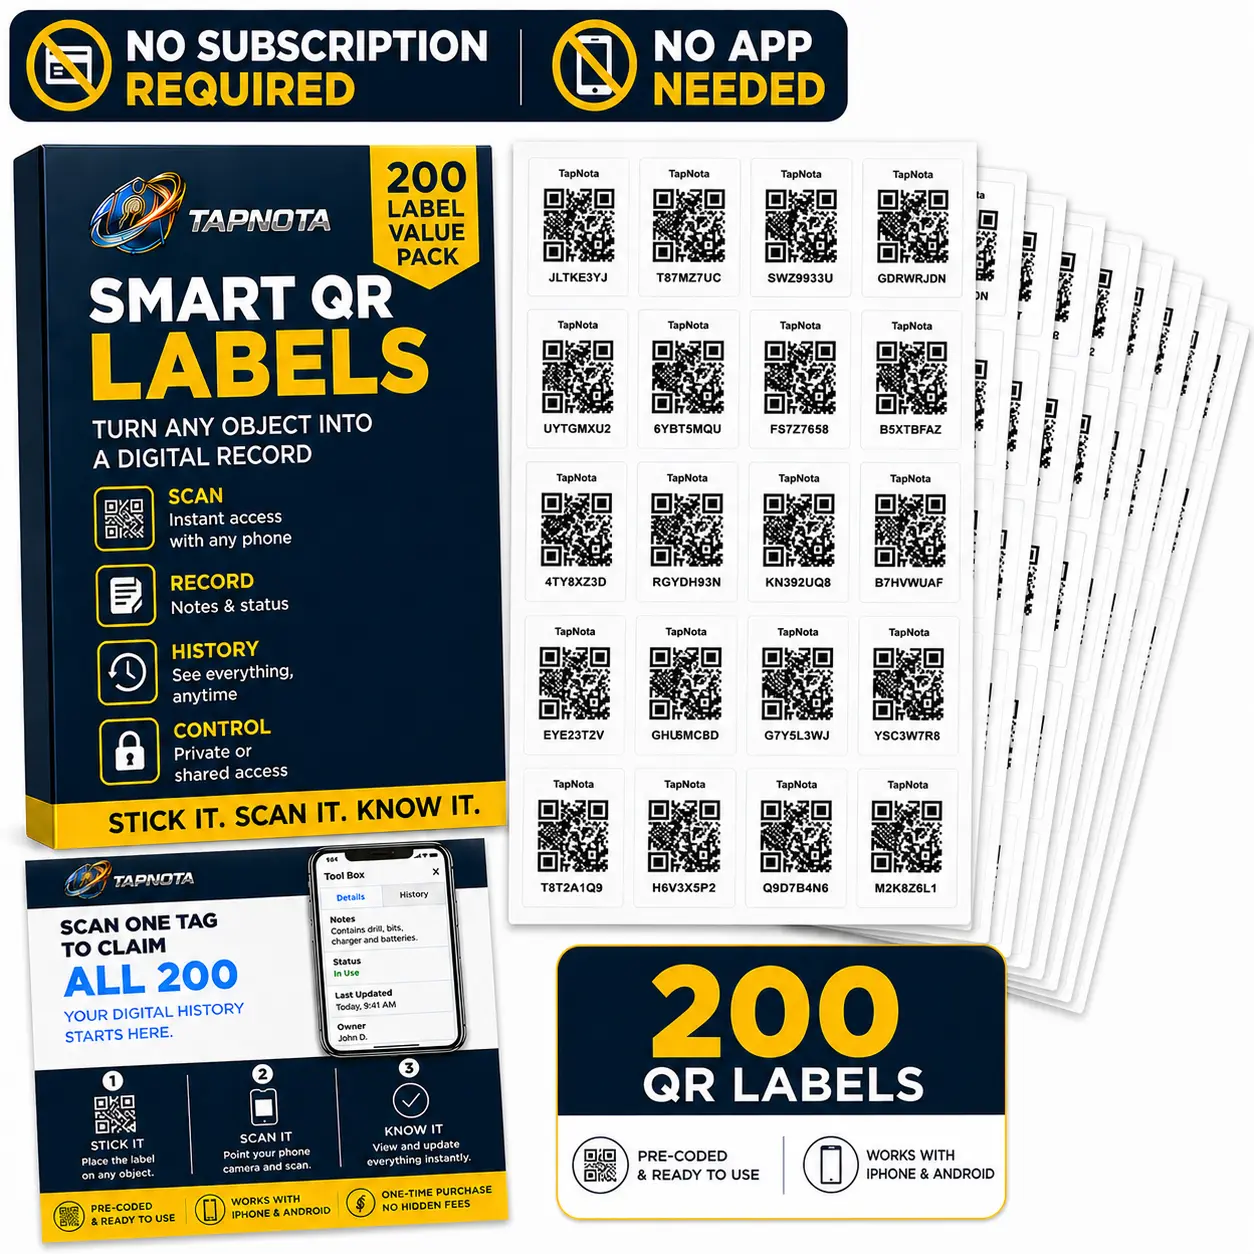
Best value for large spaces and bulk labeling.
Buy on Amazon →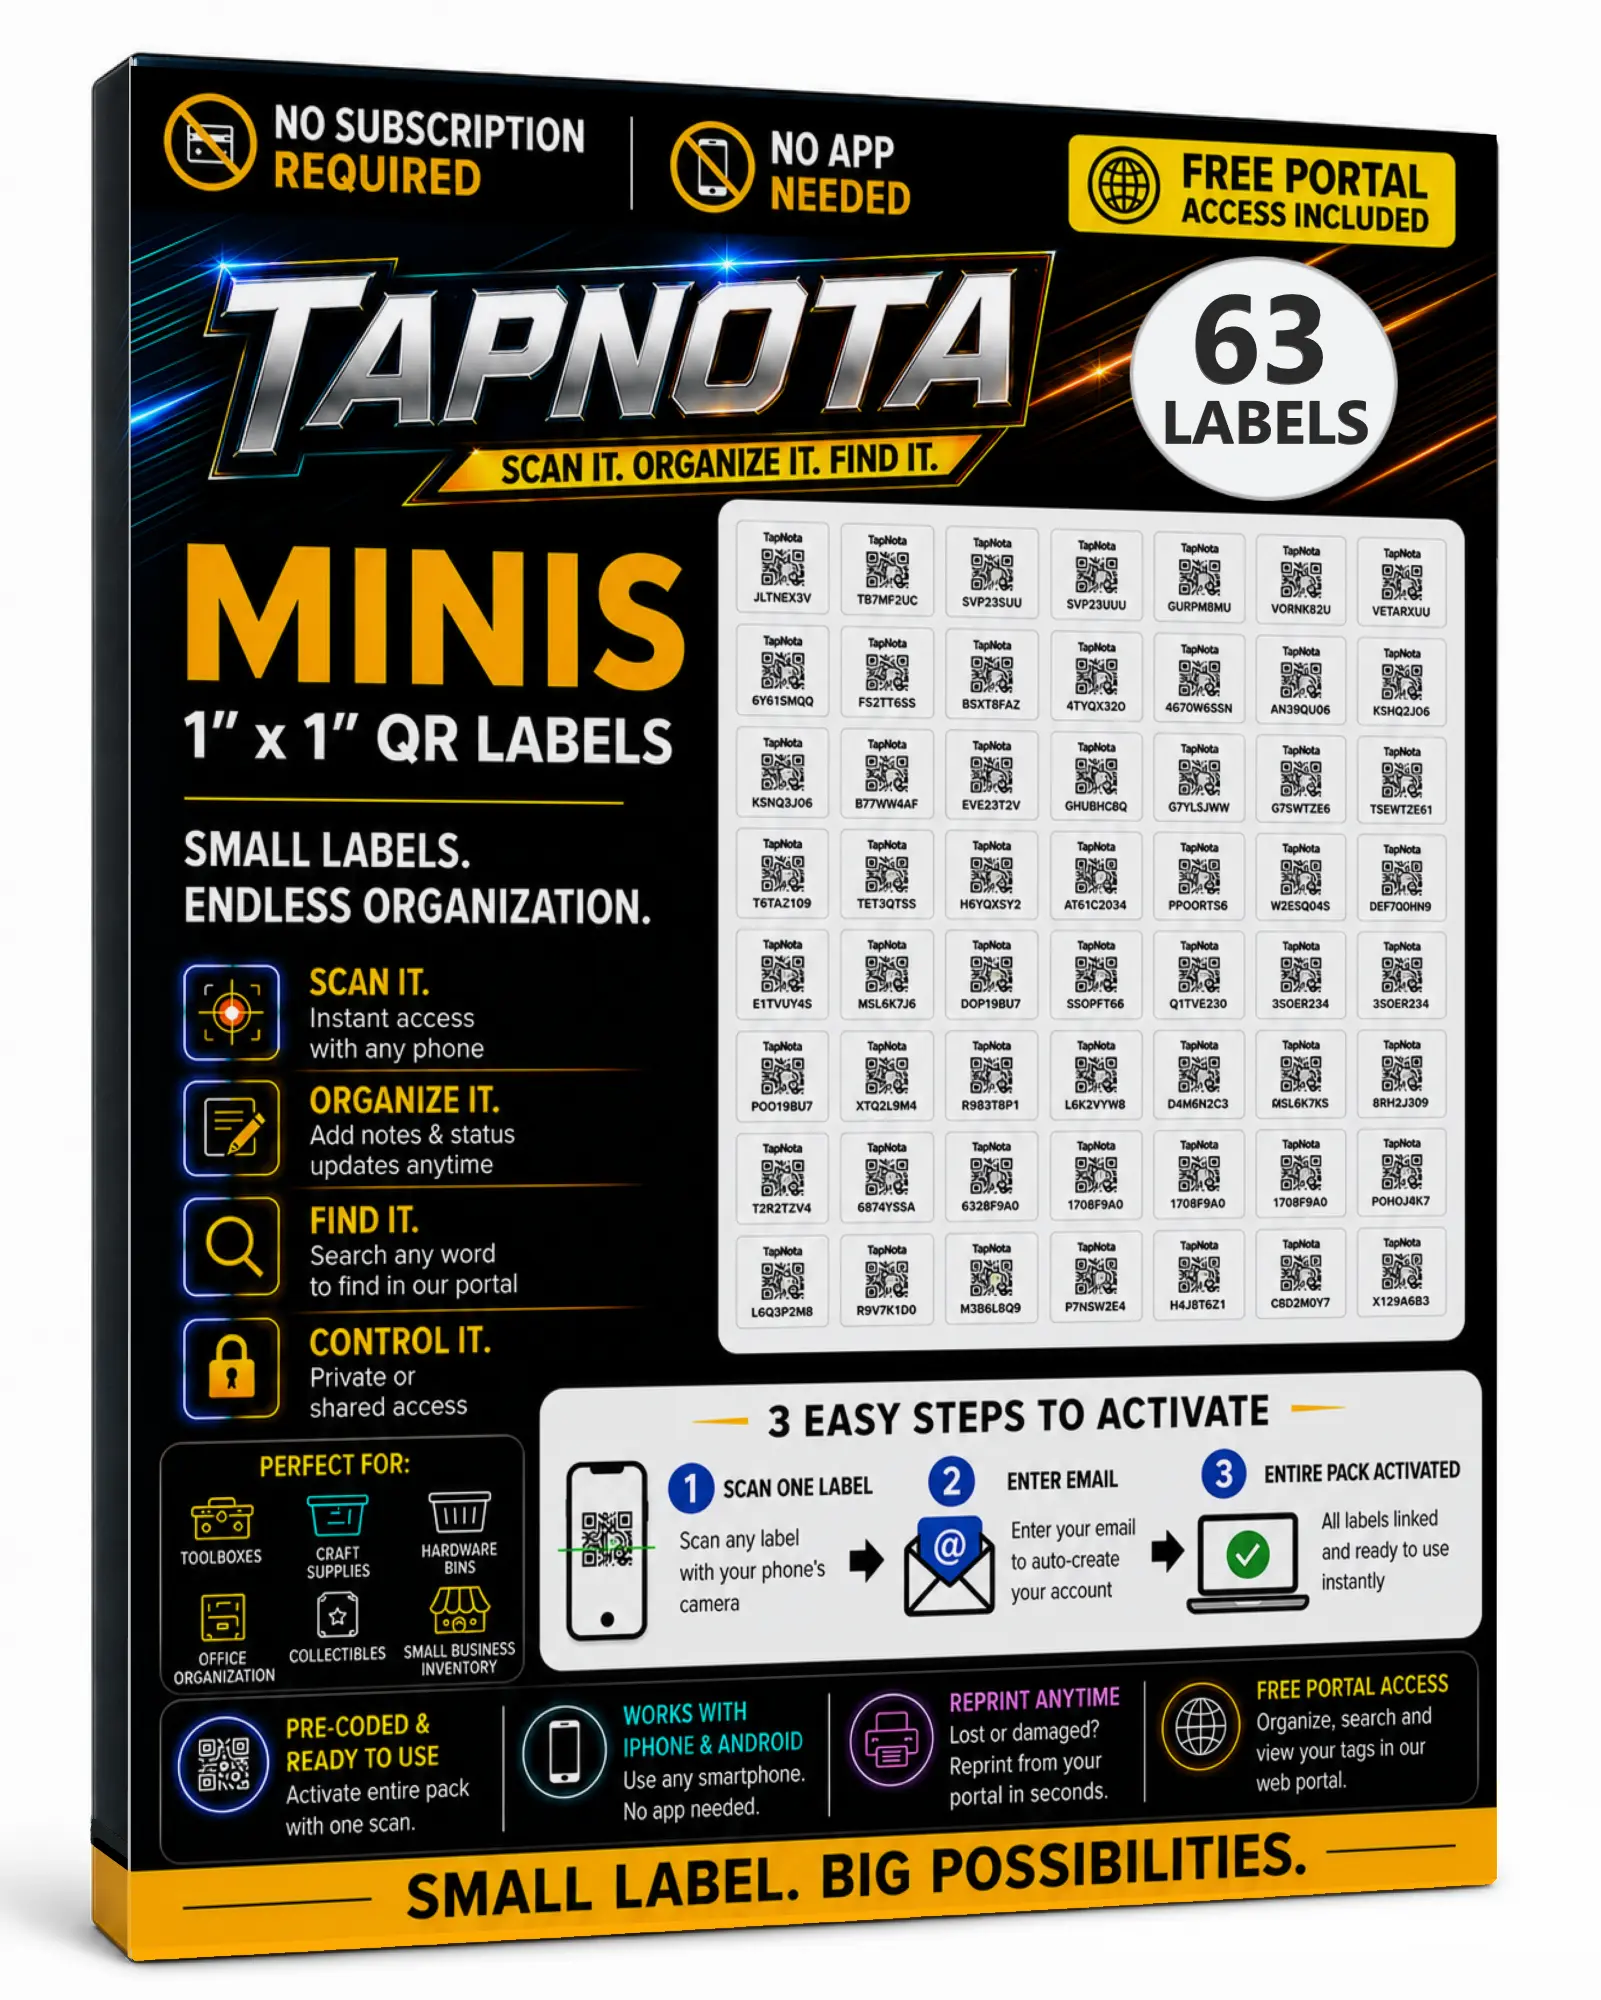
Small QR labels for compact items and tight spaces.
Buy on Amazon →
More mini labels for bins, containers, and gear.
Buy on Amazon →
Bulk mini QR labels for detailed organization.
Buy on Amazon →TapNota connects a physical item to its own digital Item Page using a smart QR label. Scan the label to view or update the item, then use your TapNota Portal to search, organize, manage, share, print, and reprint every tag connected to your account.
Lives on the physical item, box, bin, tool, or piece of equipment.
Stores the information, notes, photos, settings, and history for that one item.
Lets you manage every TapNota item connected to your account from one dashboard.
TapNota is designed to make physical things easier to identify, organize, document, and find. Each QR label is connected to a unique digital Item Page. That page can hold the information you want to keep with the item, while your Portal gives you one place to manage your complete TapNota system.
Place a TapNota QR label on a storage bin, moving box, tool, appliance, piece of equipment, document container, collectible, supply, asset, or other item.
Add a useful name, notes, photos, contents, instructions, serial numbers, service details, purchase information, or other important records.
Scan the label again or search from your Portal. TapNota can search item names, tag codes, folder names, and words stored inside your notes.
You can use pre-coded TapNota Smart Tag Packs purchased on Amazon, or create new tags directly inside your Portal up to your account’s active-tag limit.
Scan any QR label in the TapNota pack.
Use the email address you want connected to your TapNota account.
You do not need to activate every label separately.
Place the labels on items, scan them, and create each Item Page.
Choose how many new tags you want to create.
Each new tag becomes an unassigned tag in your Portal.
Portal-created tags are digital QR codes. You must print them on your own label sheets or other suitable label material before attaching them to items.
Open the printed QR code and create the Item Page for the physical item.
TapNota works through a modern web browser on your phone, tablet, laptop, or desktop computer.
Once your pack is activated or your portal-created label is printed, place the QR label on the physical item. Scan it and enter the information you want to stay connected to that item.
Examples: “Christmas Bin 3,” “Air Compressor,” “Trailer Registration,” or “Shelf B-4.”
Record contents, descriptions, model numbers, serial numbers, locations, or purchase information.
Document updates, condition, repairs, instructions, service history, or visual proof.
Keep the page private, share it with selected people, or make it public when appropriate.
Your Portal is the private dashboard for your entire TapNota account. You do not need to physically scan every item when you want to manage your system.
Each QR label connects to one Item Page. This is the digital record for the specific object, bin, box, tool, document, or piece of equipment wearing the label.
TapNota’s Portal search looks across your account and lists matching results. It can search the item title, QR tag code, folder name, and the text stored inside the item’s notes.
That means you do not have to remember the exact Item Page name. You only need to remember something you previously wrote about the item.
Finds the correct storage bin even when “Christmas lights” appears only inside one of the bin’s notes.
Finds an equipment or vehicle page where that part was mentioned in a maintenance note.
Finds item pages containing warranty information, receipts, service details, or replacement notes.
Finds an item when its location, color, or storage area was recorded in a note.
Folders group related Item Pages while keeping everything searchable from the same Portal. There is no single correct folder system. Choose the structure that matches how you think, work, store, or manage items.
Once the pack is activated and the Item Page has been created, the label does not need to be activated again. Every future scan opens the current Item Page connected to that QR code.
Sign in to add notes, photos, details, history, or changes.
They see only the information allowed by that Item Page’s settings.
The information can keep changing without replacing the original QR label.
Think of the Item Page as a living record. Add only the information you need, or build a detailed history that grows over months or years.
Identify what the item is, where it belongs, and how it should be recognized.
List what is inside so you can find stored items without opening every container.
Add reminders, care instructions, procedures, locations, or important context.
Document condition, contents, repairs, before-and-after results, or visual proof.
Keep identifying numbers connected directly to the physical item.
Record purchase dates, vendor details, receipt information, or warranty notes.
Create a running service history with dates, parts, issues, and completed work.
Record who owns, uses, stores, services, or is responsible for the item.
Control who can view the information connected to the Item Page.
The Portal lets you access QR codes for your active tags. This is useful when you create print-your-own tags, need another copy, or must replace a damaged label.
A tag created in the Portal must be printed by you before it can be placed on a physical item.
Print the same QR code again. The replacement continues opening the existing Item Page and its stored history.
Reprinting does not create a new Item Page unless you intentionally create a separate new tag.
An active tag is a TapNota Item Page connected to a QR code. Your account type determines how many total active tags you can manage.
Plan limits are totals, not additions. Existing active tags count toward the total shown for your account.
Additional purchased Smart Tag Packs can still be activated. If a purchased pack places your account over its included capacity, the purchased tags continue working. Your Portal may prompt you to upgrade before creating additional print-your-own tags.
Your information stays connected when you upgrade. Existing tags, folders, notes, photos, sharing settings, and item history remain in your account.
Different items may need different levels of access. TapNota lets you choose the setting that fits the information connected to each item.
Best for personal records, internal organization, service history, sensitive details, or information that should remain inside your account.
Best when family members, employees, customers, technicians, or service providers need a viewable link without taking control of your main Item Page.
Best when anyone scanning the QR code should be able to view the information you intentionally make available.
TapNota works anywhere a physical item would be more useful with searchable information, photos, instructions, records, or history connected directly to it.
List contents and search for stored items without opening every container.
Record room destination, contents, priority, fragile items, or unpacking notes.
Document appliances, electronics, furniture, valuables, keepsakes, and belongings.
Store instructions, serial numbers, service records, maintenance, and repair history.
Organize office equipment, supplies, field assets, inventory, and operational records.
Identify shelves, bins, equipment, supplies, storage zones, and high-value items.
Document condition, missing accessories, repairs, return notes, and service cycles.
Keep a timeline for HVAC units, pumps, panels, machinery, appliances, or facilities.
Attach care instructions, operating steps, checklists, or safety information.
Save background information, photos, ownership details, dates, and personal history.
Identify document boxes, folders, archives, registrations, manuals, or tax records.
Make important information easier for other approved people to locate and understand.
Choose specific names such as “Garage Bin 12,” “Red Air Compressor,” “Warehouse Shelf C-4,” or “2024 Tax Records.”
Include the words you might remember later: contents, color, location, part name, customer, model, season, repair, or project.
Decide whether your main organization method will be location, purpose, project, person, season, status, or another system.
Photos are useful for contents, condition, completed work, damage, identification, or before-and-after documentation.
The page becomes more valuable as notes, photos, maintenance, and history accumulate.
When a label is damaged, reprint the same QR code so the item keeps its existing page and stored history.
No. TapNota works through a web browser on a modern phone, tablet, laptop, or desktop computer.
No. With a TapNota Smart Tag Pack, scan any label in the pack, enter your email address, and follow the activation steps. The entire pack is activated at once.
Scan a label from the new pack and activate it using the same email address already connected to your account. The new pack will be added to the same Portal.
The Portal manages your entire account. An Item Page stores the information for one specific physical item connected to one QR label.
The current Item Page opens. The tag does not need to be activated again, and the QR code stays the same while the Item Page information can continue changing.
Portal search can match item titles, tag codes, folder names, and words stored inside Item Page notes.
Yes. Search for a word or phrase you remember from a note, such as a stored item, model number, color, location, part name, repair detail, customer, or project.
Yes. You can create new tags up to your account’s active-tag limit. Portal-created tags must be printed by you before they can be attached to physical items.
Yes. Reprinting the same QR code gives you another label that opens the existing Item Page and keeps its stored notes, photos, settings, and history.
No. Folders change only how the item is organized inside your Portal. The physical QR label continues opening the same Item Page.
An active tag is a TapNota Item Page connected to a QR code. Active tags count toward your account’s total capacity.
You may need to upgrade your account before creating more print-your-own tags. Purchased TapNota Smart Tag Packs can still be activated, and purchased tags continue working.
No. A PIN is not required to activate a pack, scan a label, create Item Pages, or use TapNota. Optional Item Page PIN protection is available with supported plans.
Yes. Depending on the privacy setting, an Item Page can remain private, be shared with selected viewers, or be made public.
Yes. TapNota can organize home storage, moving boxes, personal inventory, tools, equipment, business assets, supplies, maintenance records, rentals, collections, documents, and many other physical items.
Buy a pre-coded TapNota Smart Tag Pack or open your Portal to organize, create, print, and manage your active tags.
Need more labels? Buy additional TapNota pre-coded packs on Amazon. Scan one label to activate your entire pack instantly.