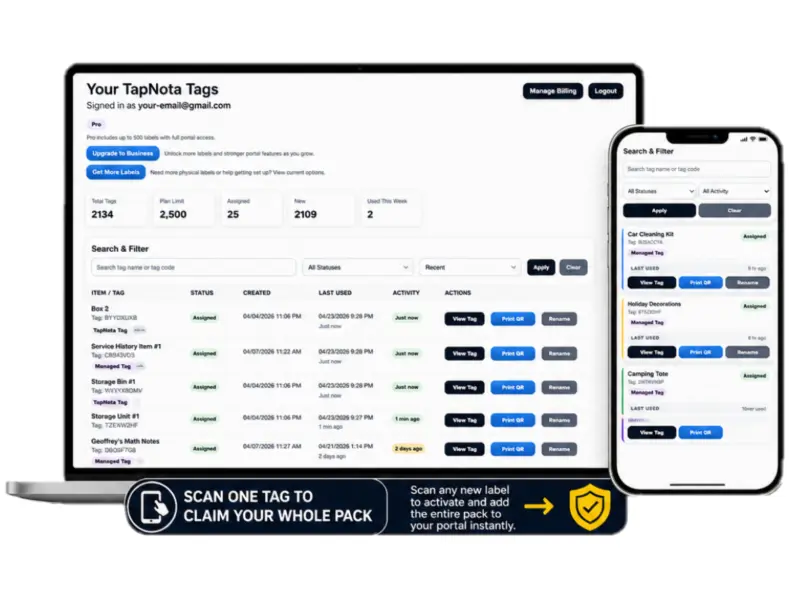
Activate the Entire Pack Once
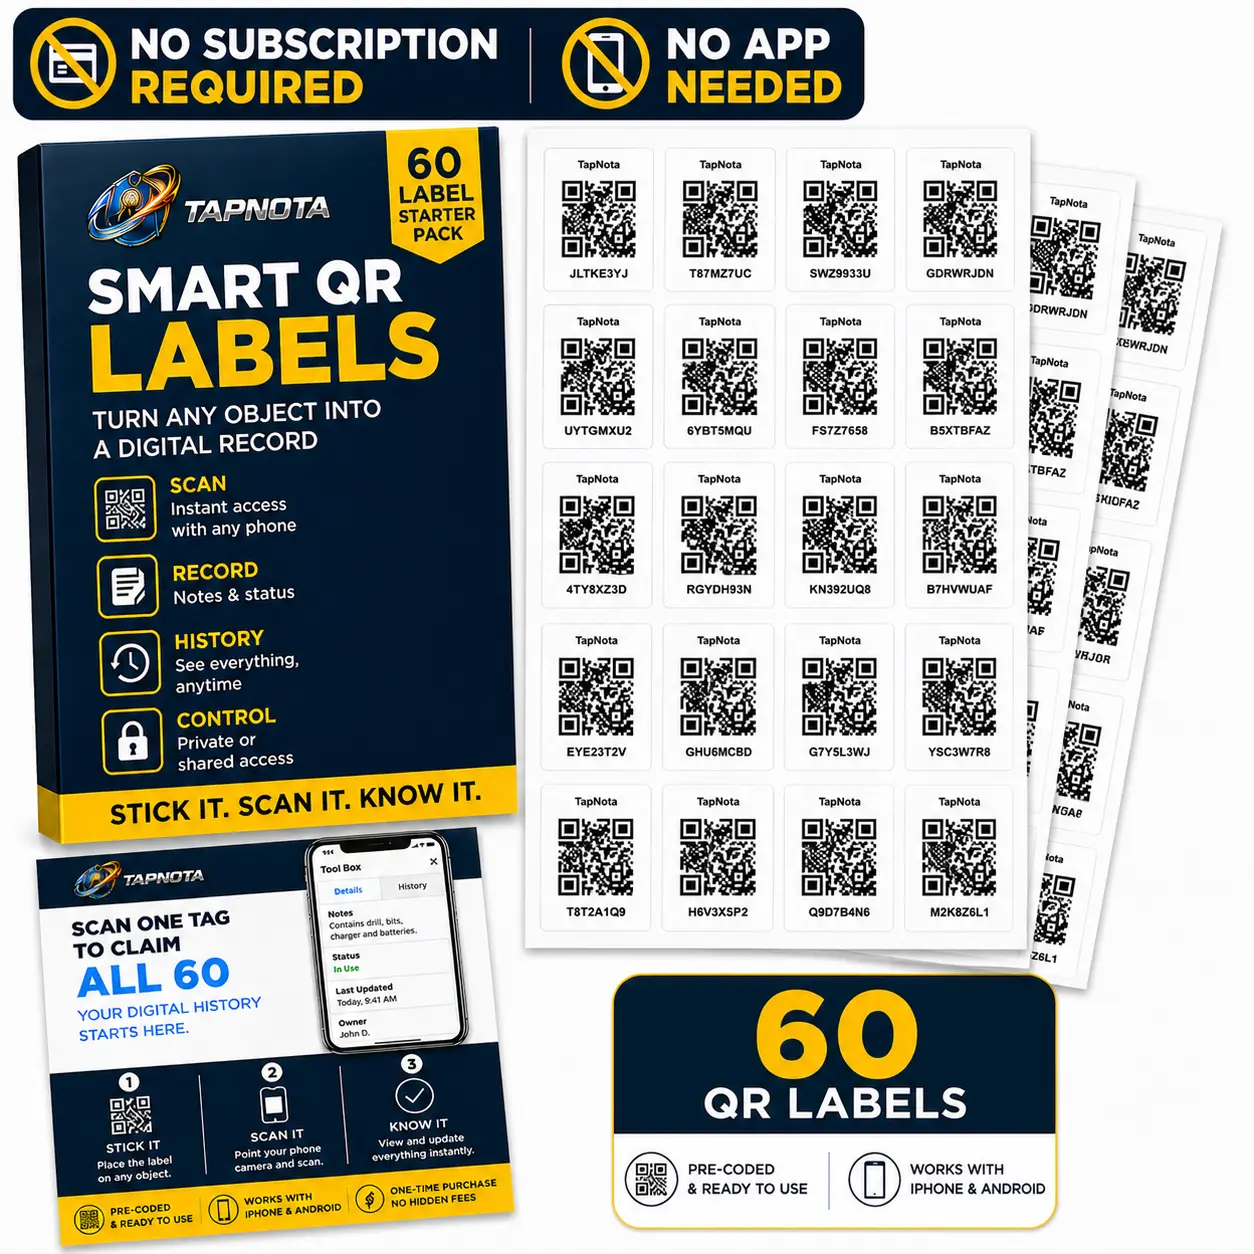
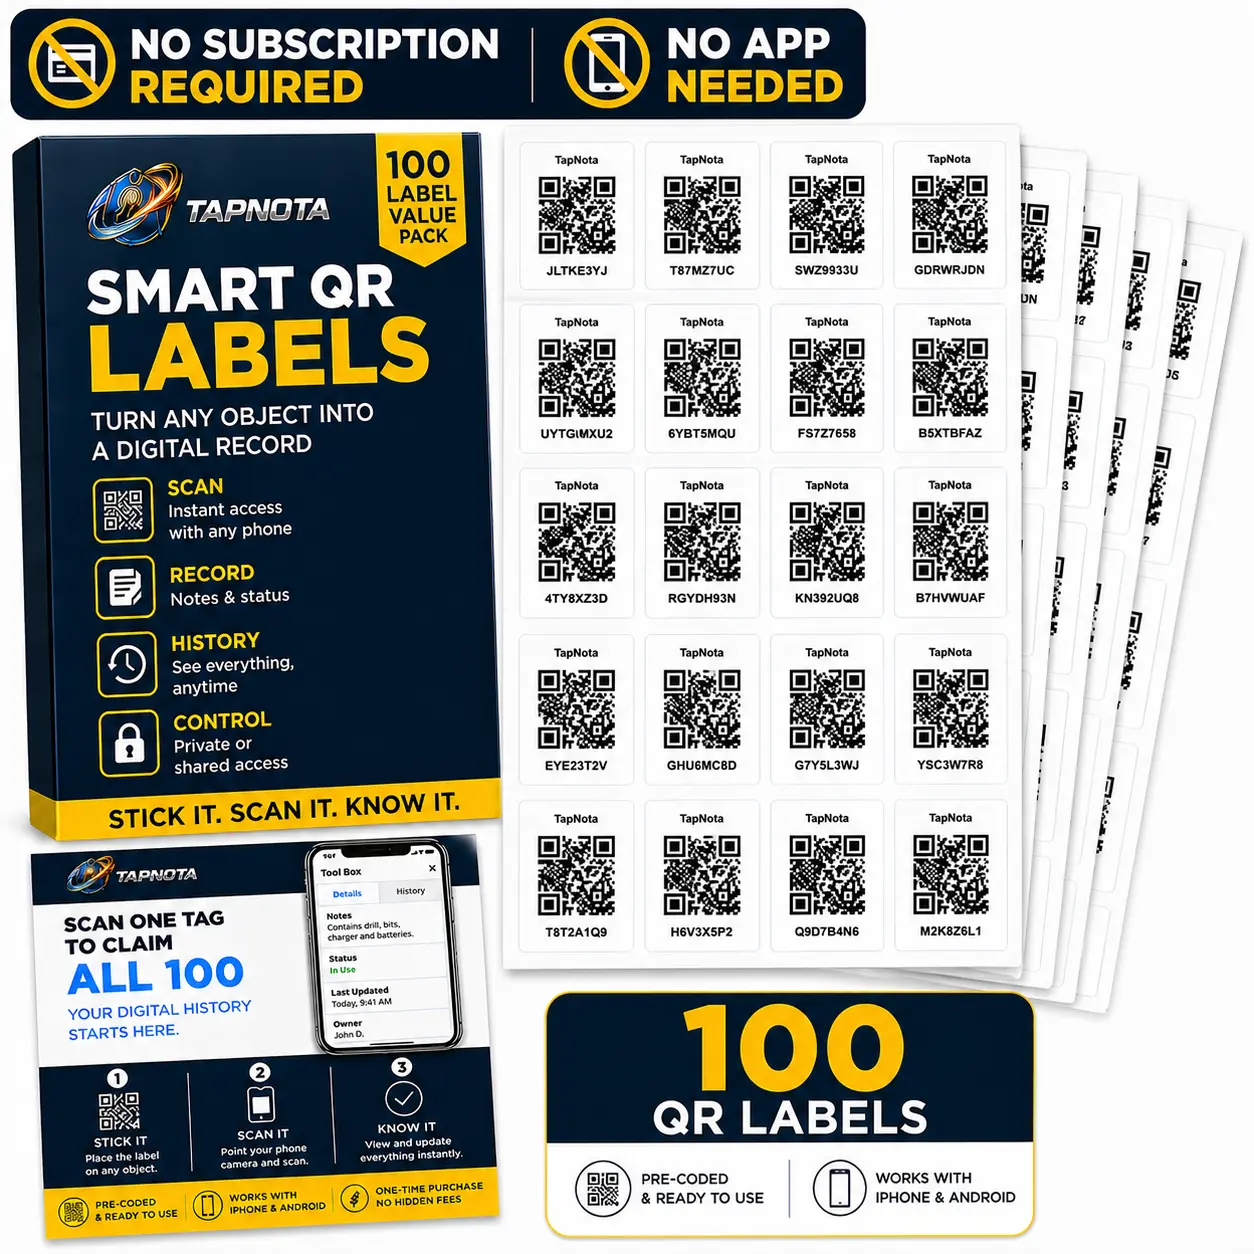
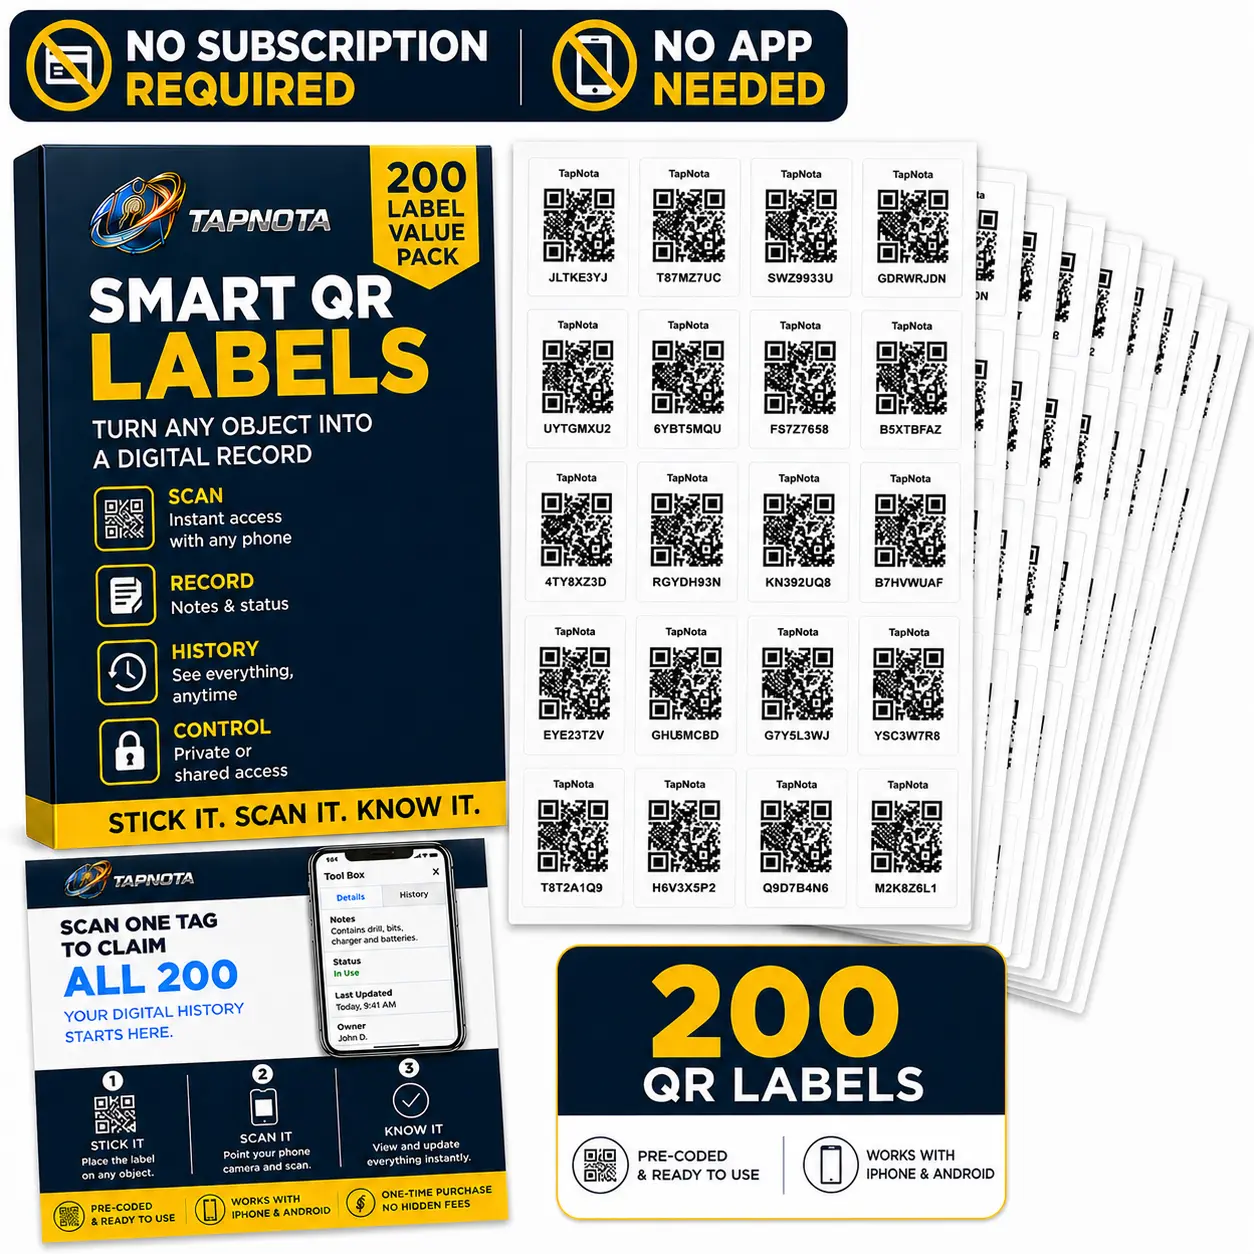
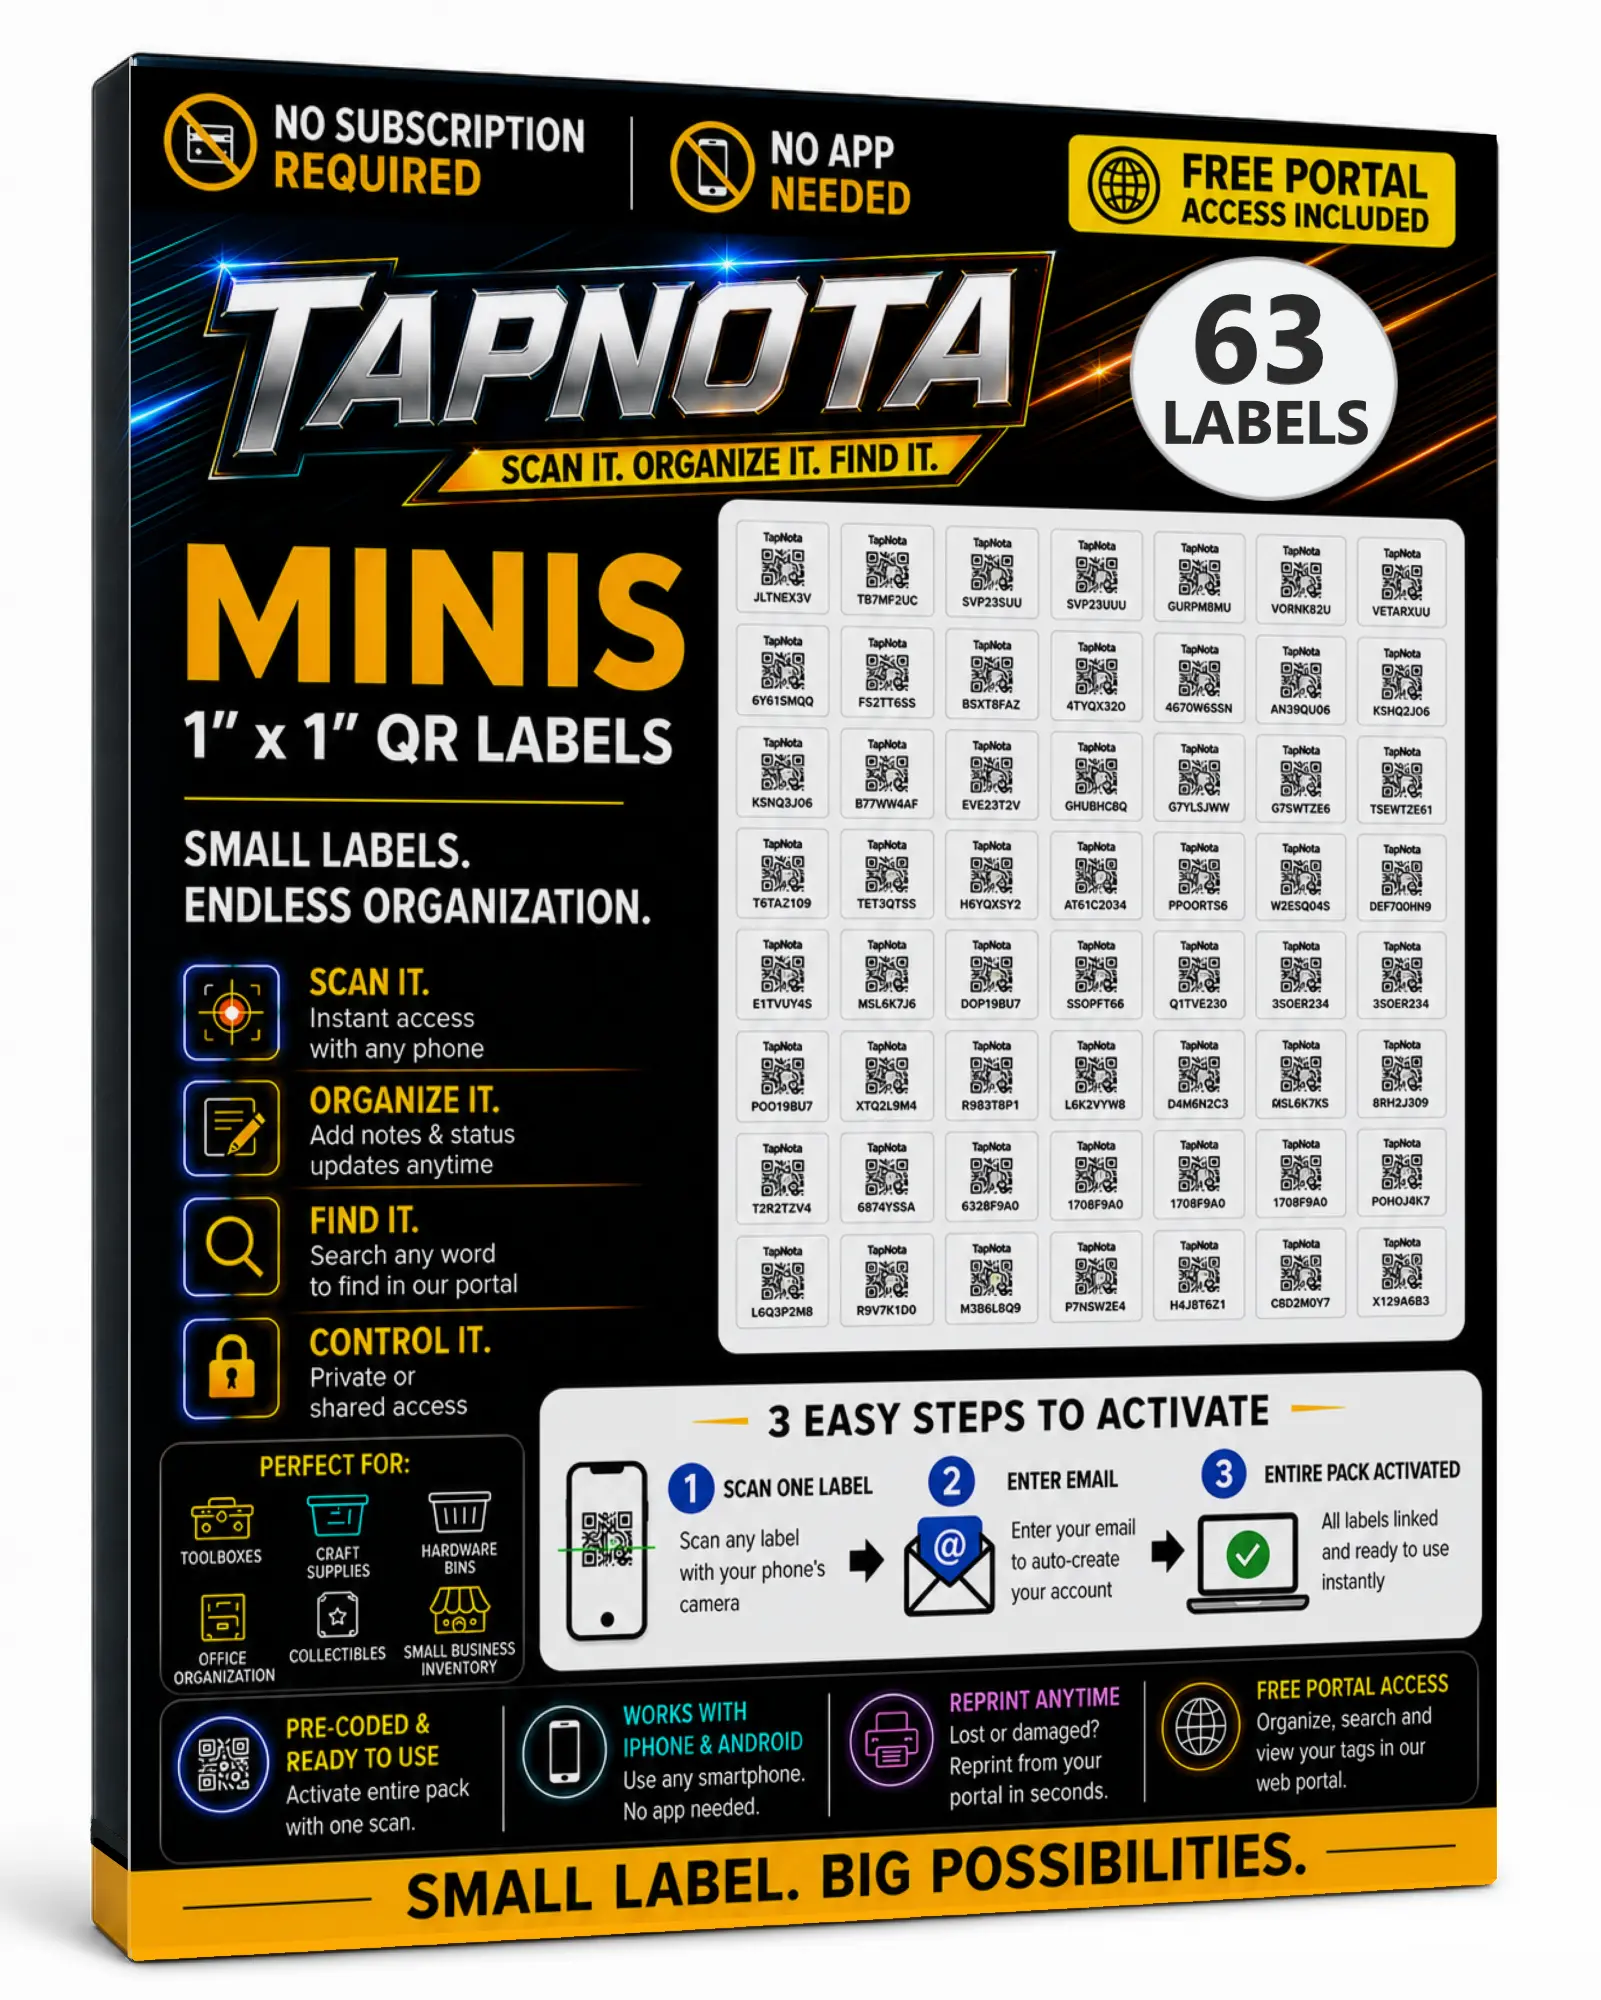
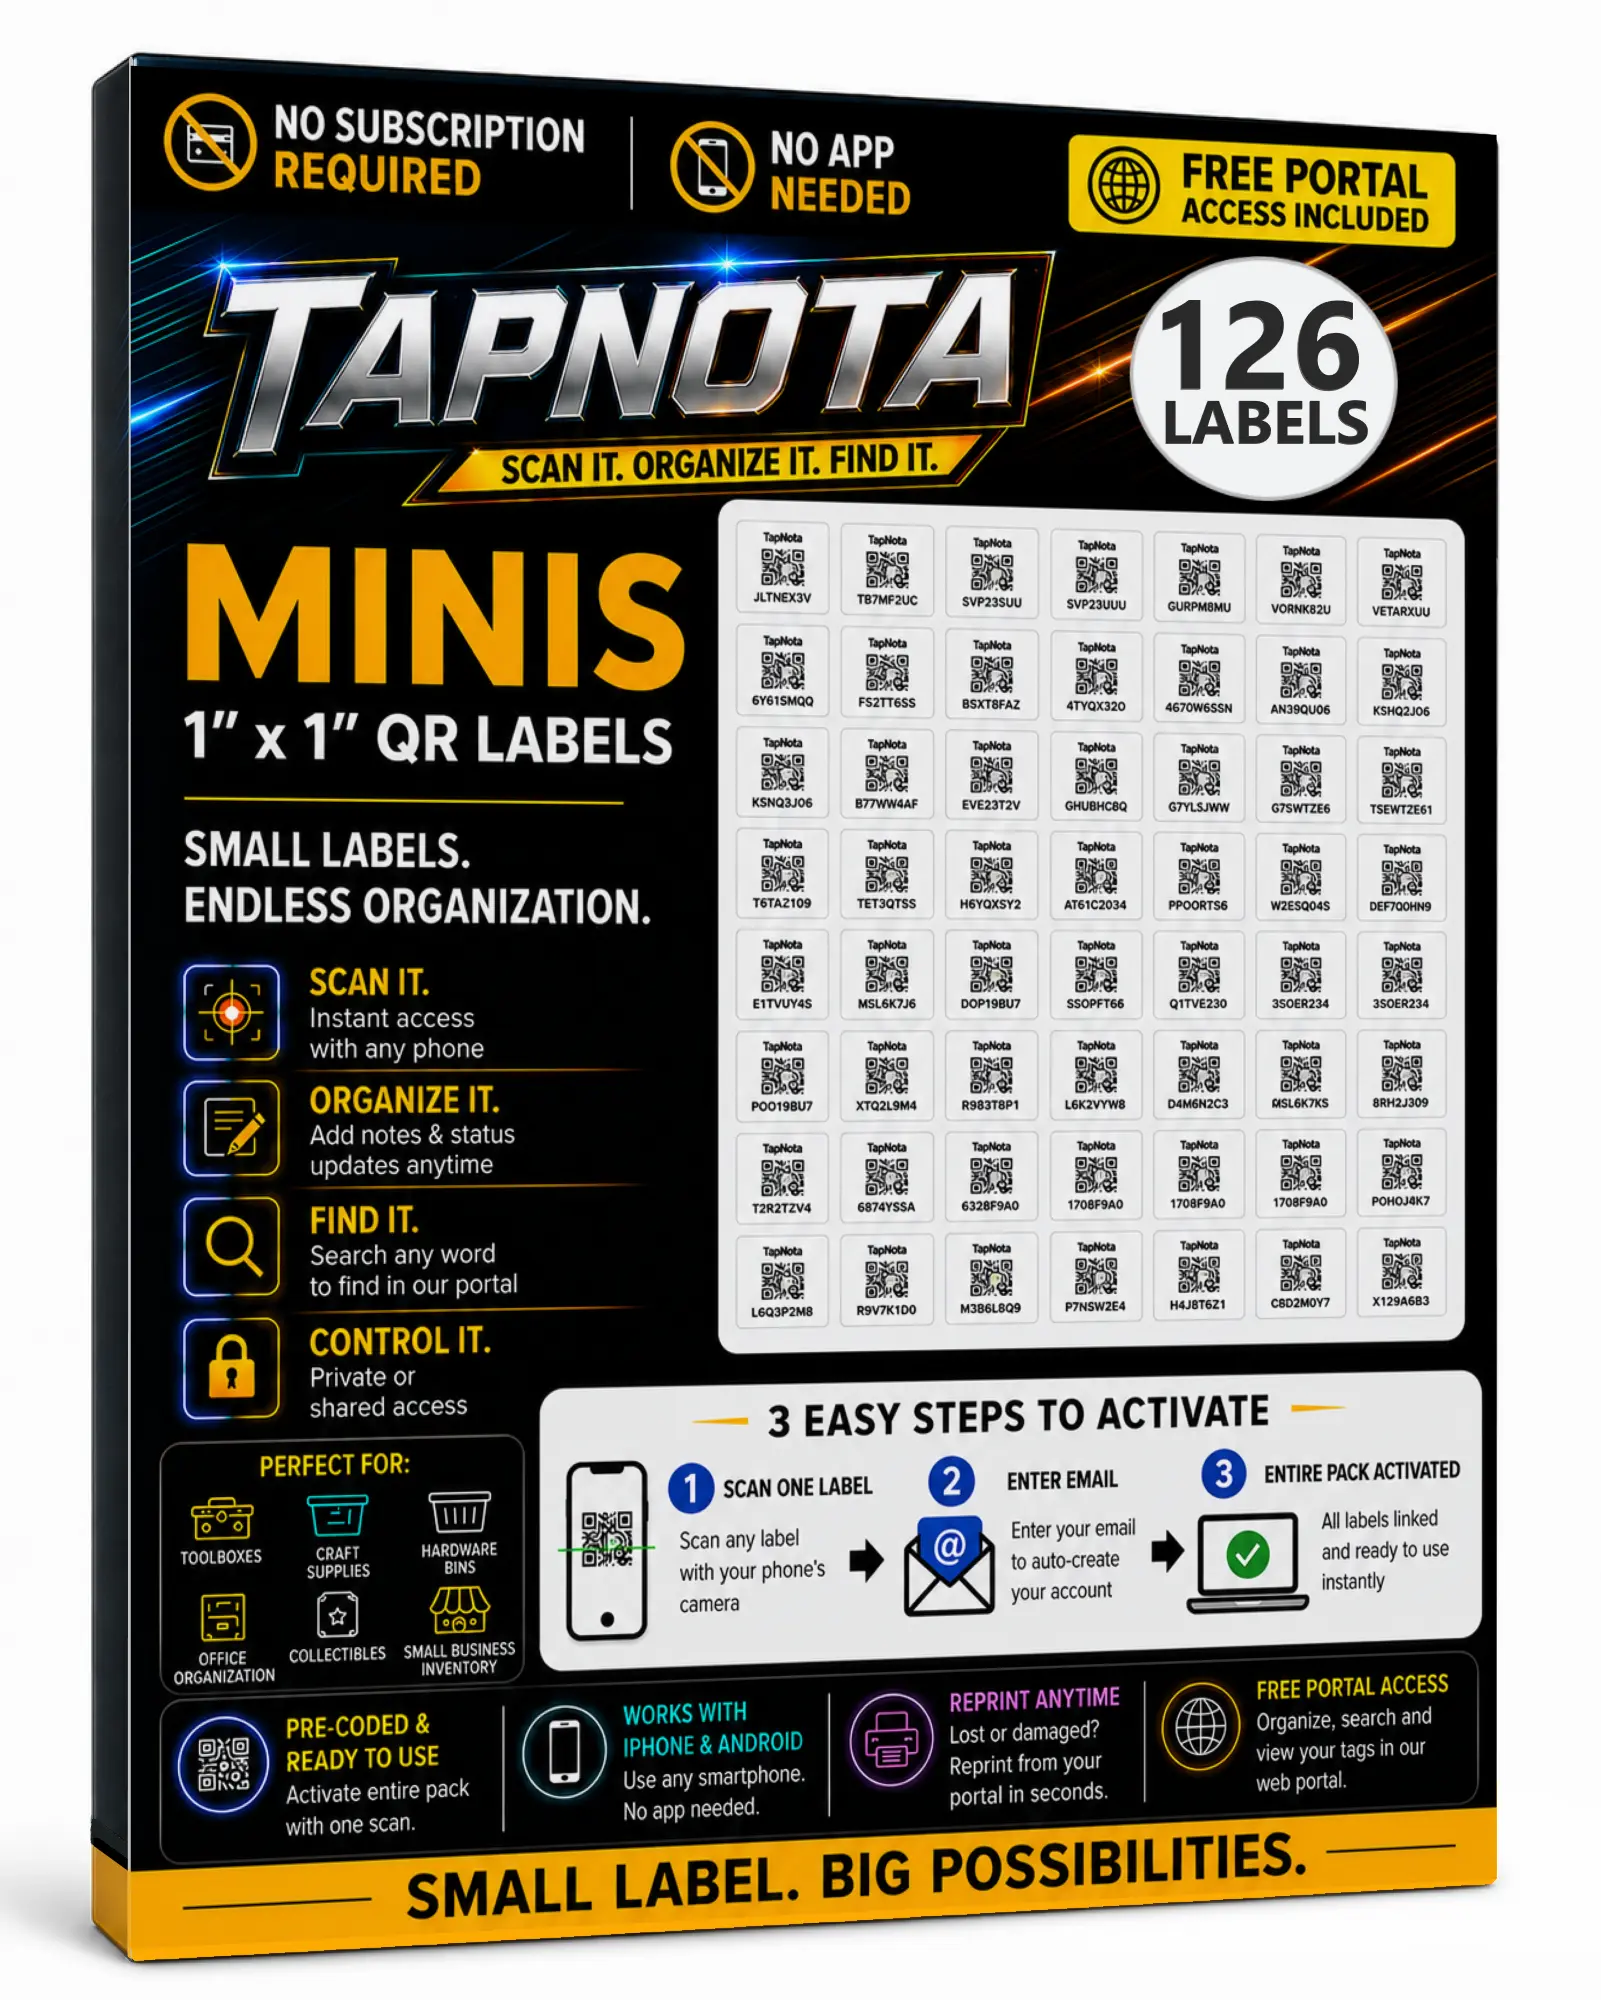
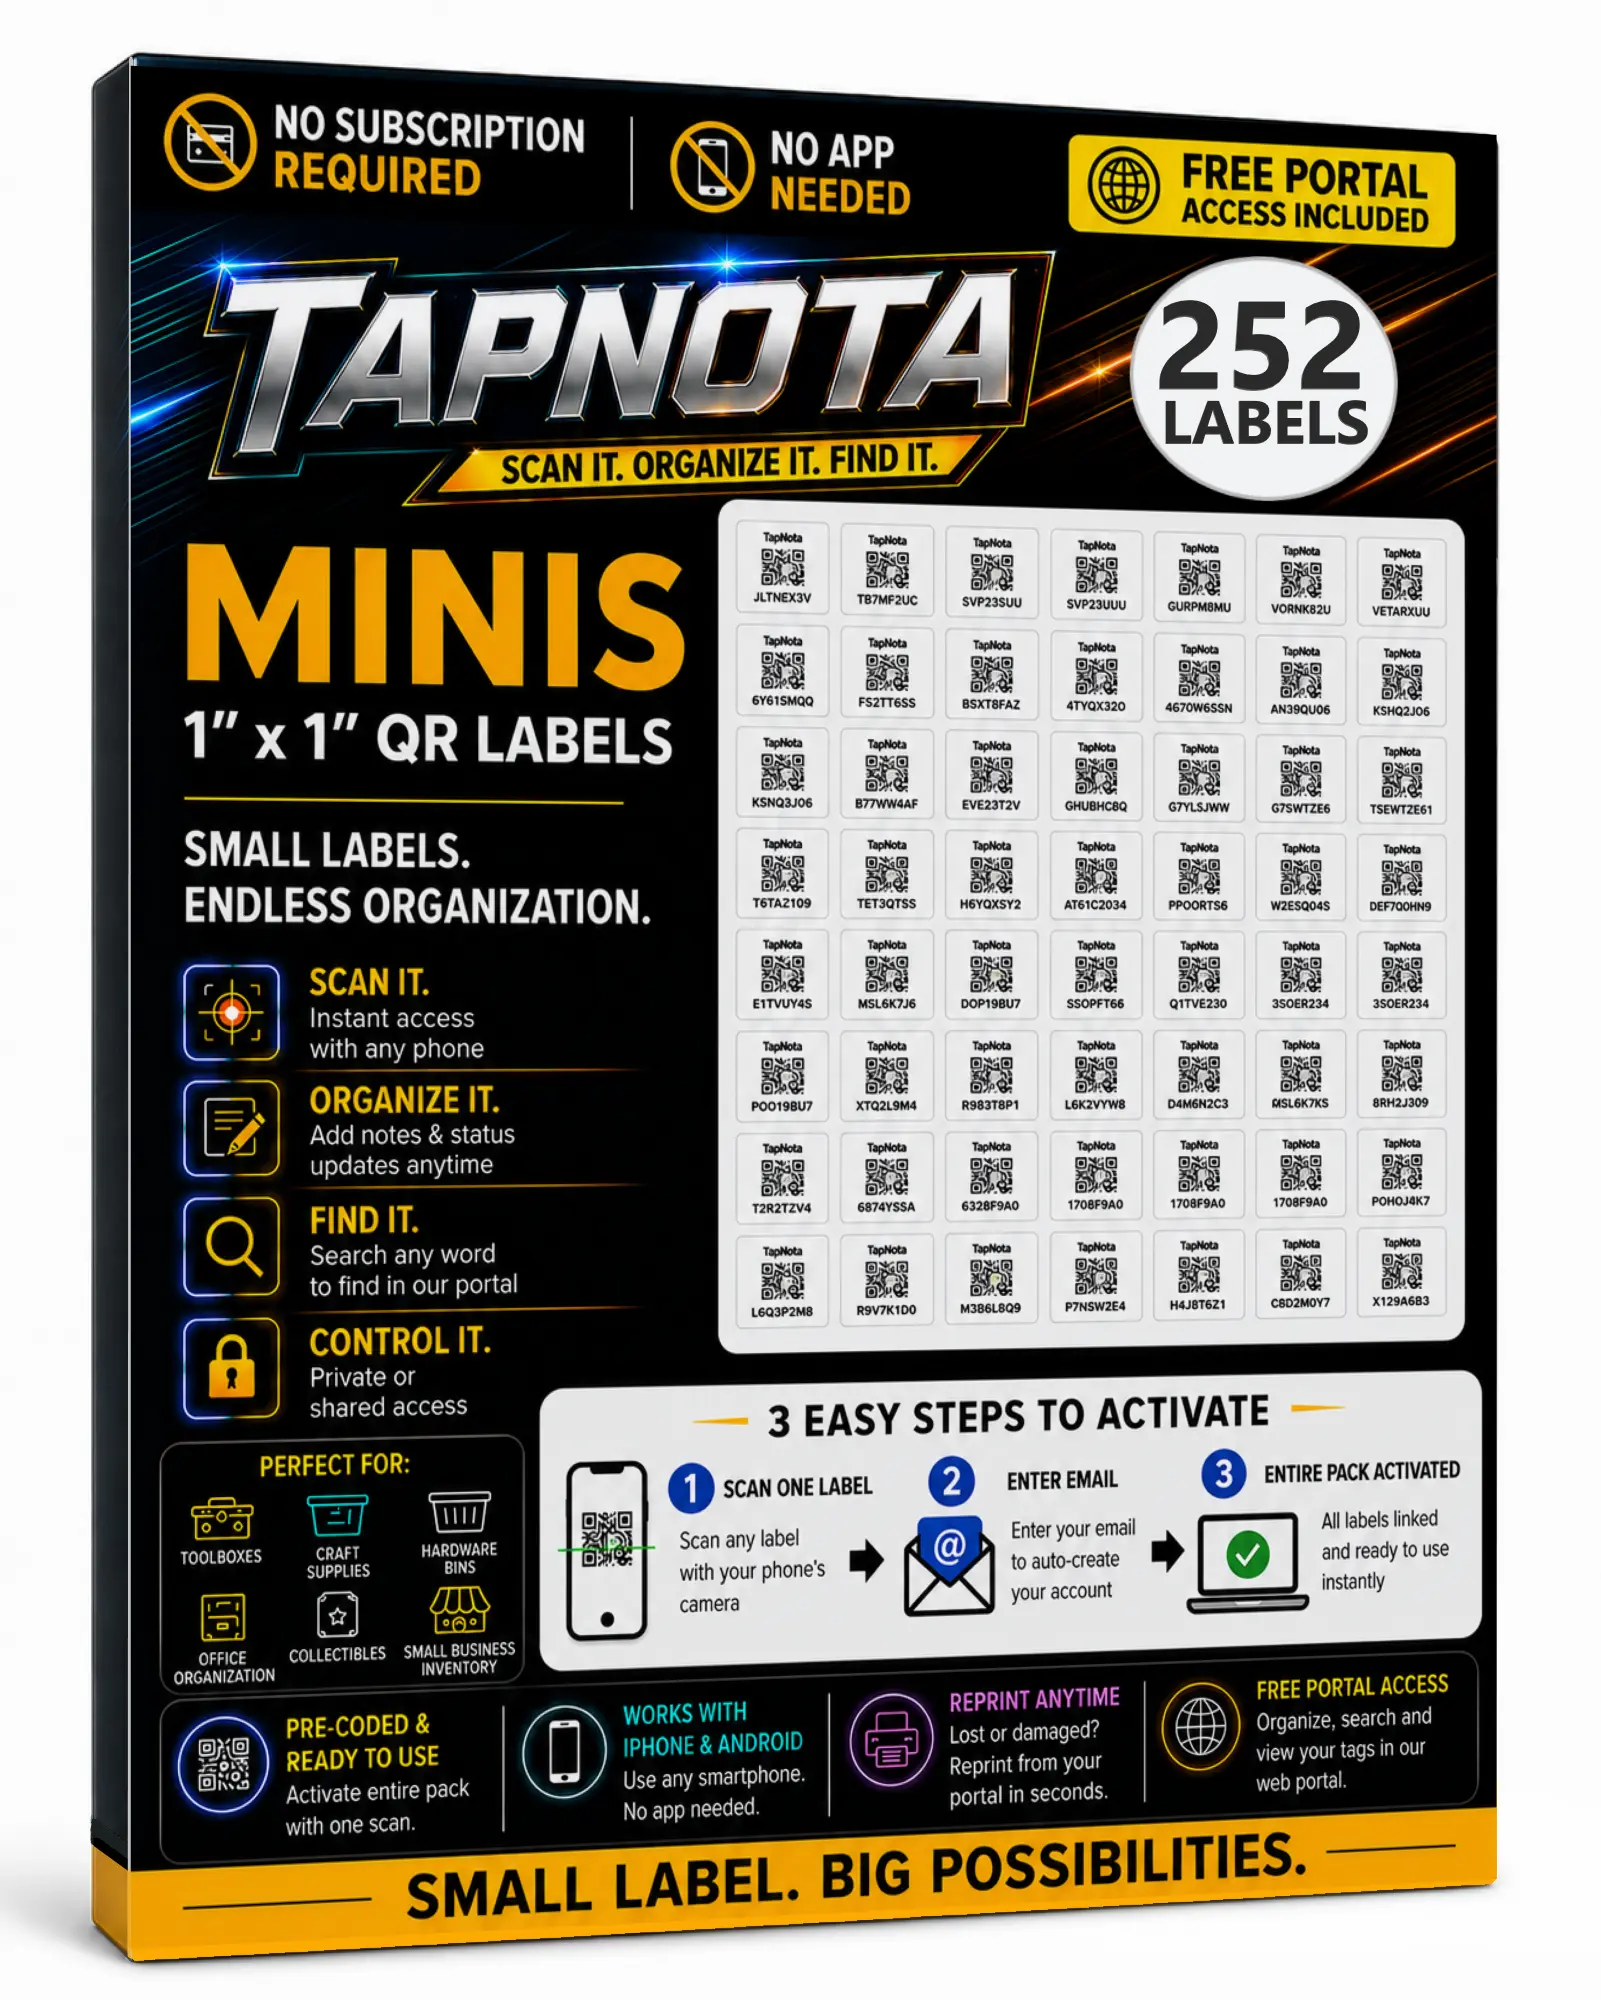
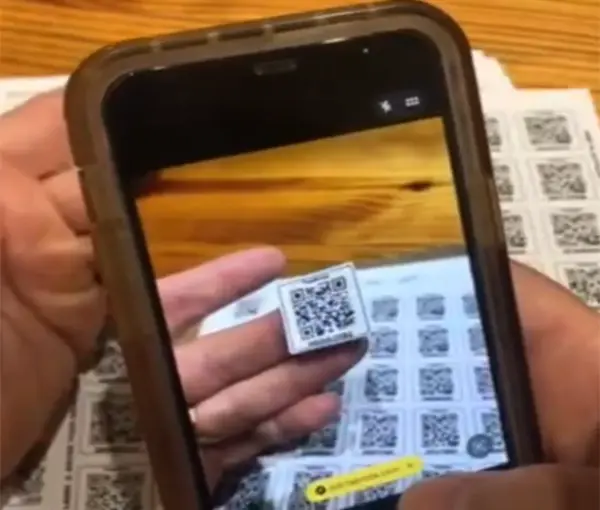
Scan any label in the purchased pack, enter and verify your email, and TapNota connects the whole pack to your account.
You do not activate every label separately.

The best storage labels do more than name a room. Learn how to label storage bins with clear categories, useful details, consistent placement, and QR labels that connect every container to a searchable digital record.
Storage Bin Labeling Image
Add one lifestyle image showing organized storage bins with consistent labels placed on the front of each container.
Labels such as “Stuff,” “Garage,” or “Miscellaneous” do not tell you enough. A useful label should quickly explain what the bin contains, where it belongs, and how it fits into your overall storage system.
Use a specific category such as “Camping Cookware,” “Winter Clothes,” or “Christmas Lights” instead of a broad room name.
Include the room, shelf, closet, or storage zone when that information will help family members return the bin correctly.
Number similar bins so you can distinguish “Holiday Décor 1” from “Holiday Décor 2” without opening both.
Follow this process to build a labeling system that stays useful as your storage changes.
Group similar items together before choosing a bin name. Avoid mixing unrelated categories just because there is extra space.
Name the contents clearly enough that another person could understand the label without asking what is inside.
Number bins within larger categories so each container has a unique identity and can be found quickly.
Put labels on the front or outward-facing side of every bin. Use the same position throughout the room.
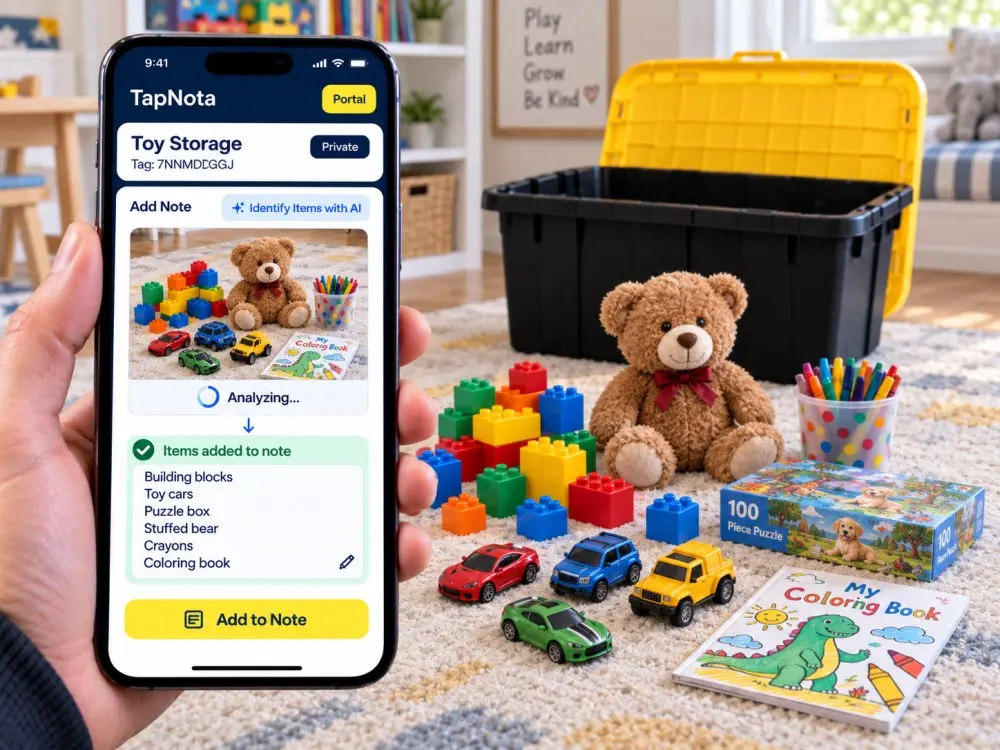
Use a digital record for item names, quantities, notes, and photos that will not fit on the physical label.
Change the contents list whenever items are added, removed, or moved to a different container.
The clearer the label, the less likely you are to open the wrong bin.
Use “Christmas Tree Lights,” “Outdoor Holiday Décor,” or “Ornaments — Family Room” instead of simply “Christmas.”
Use “Boys Winter Clothes — Size 8,” “Women’s Summer Shoes,” or “Guest Bedding — Queen.”
Use “Camping Cookware,” “Tent Accessories,” or “Camp Lighting and Batteries” instead of “Camping.”
Use “Painting Supplies,” “Automotive Cleaning,” or “Power Tool Accessories” instead of “Garage.”
Use names, dates, school years, or family members so sentimental items remain easy to identify.
Use “Tax Records 2024–2026,” “Home Manuals and Warranties,” or “School Records” instead of “Paperwork.”
Consistent placement makes your system easier to understand and helps QR labels scan properly.
Different labeling methods work for different needs, but QR labels provide the most space and flexibility.
| Label Type | Best Use | Limitations | TapNota Advantage |
|---|---|---|---|
| Handwritten label | Simple category names | Limited space and must be rewritten | Digital details remain connected to the bin |
| Printed text label | Clean, consistent appearance | Still limited to visible printed text | Add searchable notes and photos |
| Color-coded label | Grouping bins by room or category | Colors do not show detailed contents | Use folders plus a complete digital record |
| QR storage label | Detailed and changing contents | Requires a phone to open the record | Scan, search, update, and reprint anytime |
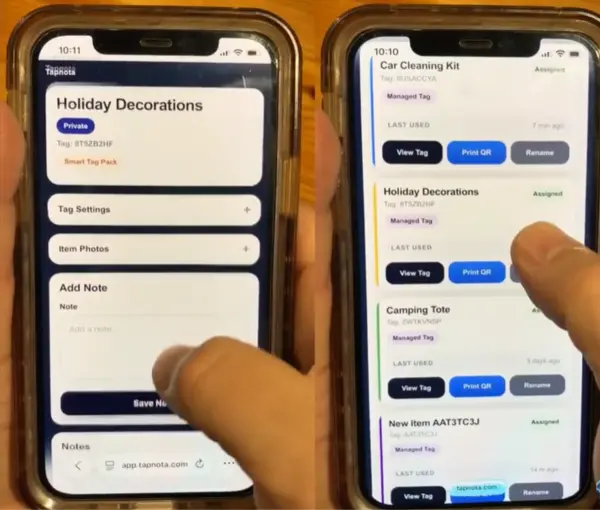
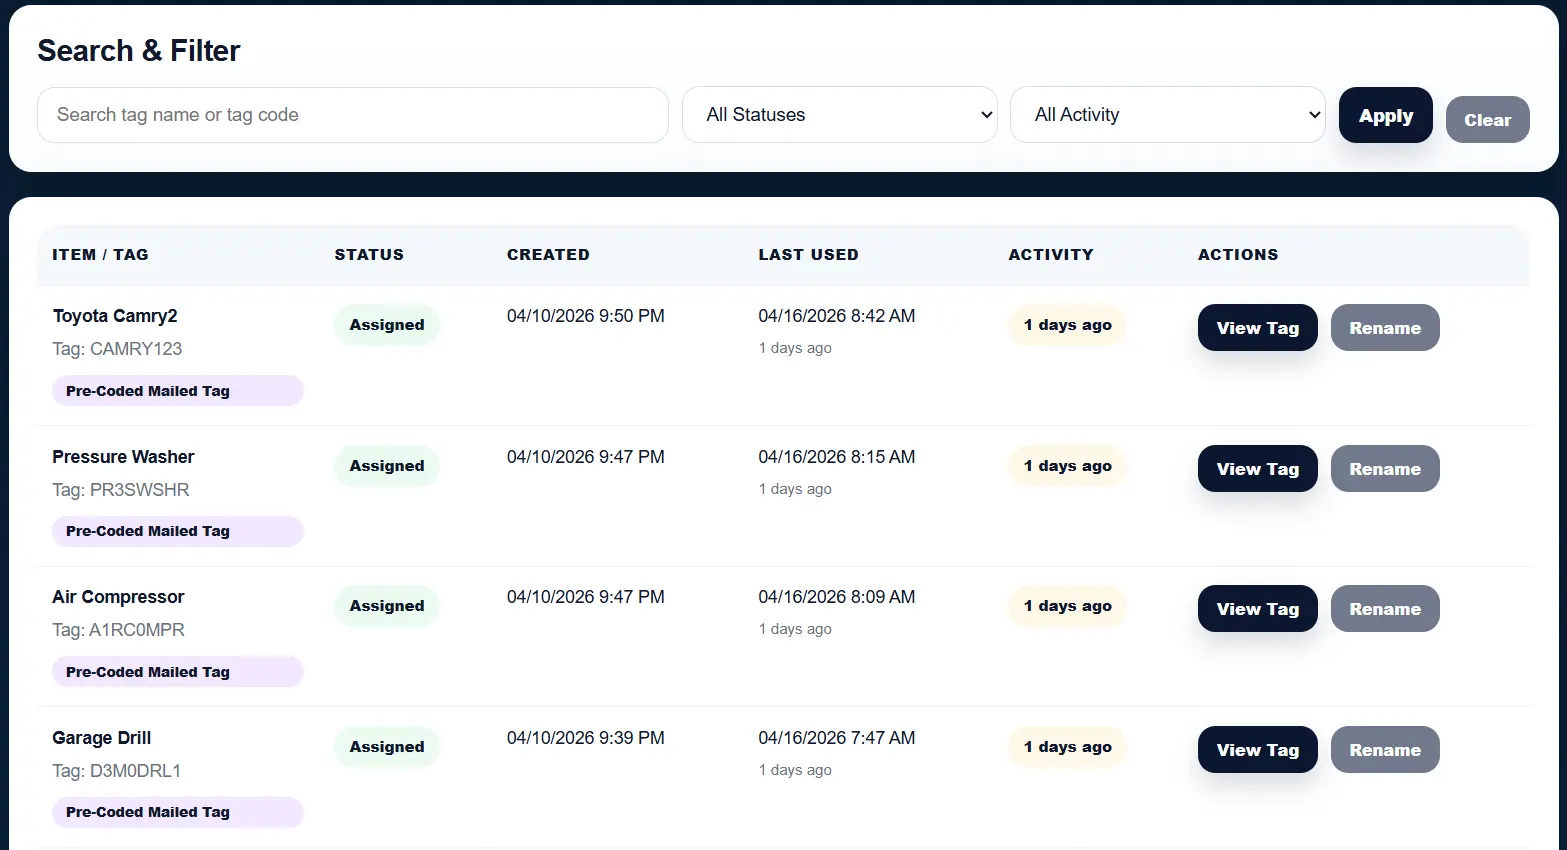
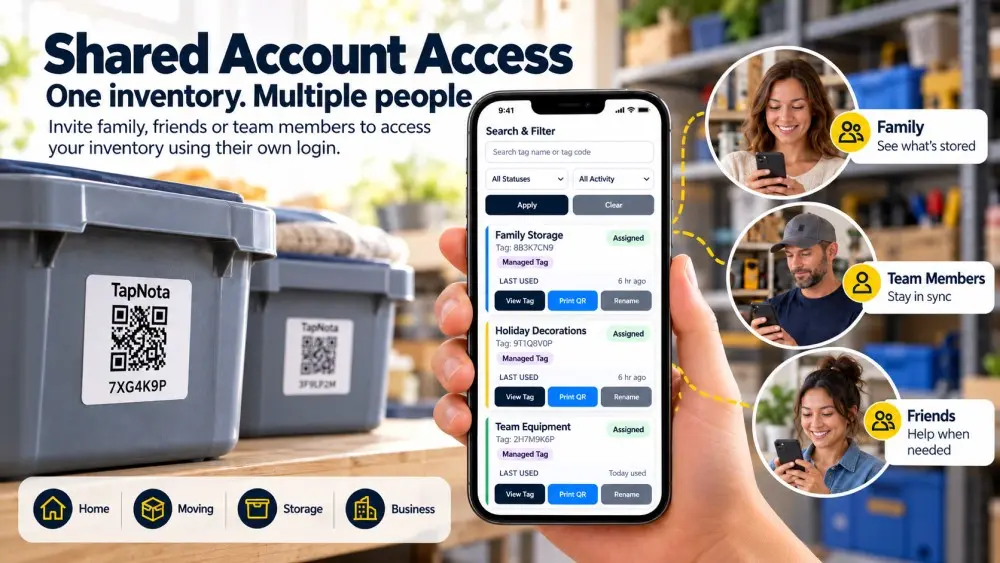
A physical label can only hold so much information. TapNota connects each storage bin to a digital page with detailed contents, notes, photos, folders, and history.
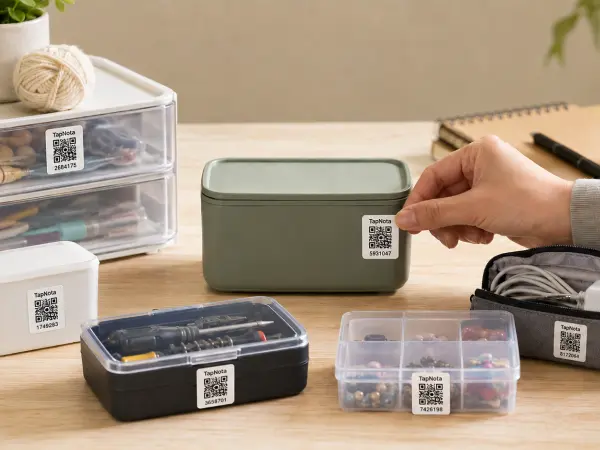
TapNota Product Image
Add one product image showing TapNota label packs and several labeled storage bins.
TapNota QR labels let you keep a clean label on the outside while storing detailed contents, photos, notes, and history on the connected digital page.
Explore related TapNota guides for storage bins, QR labels, moving boxes, and home inventory.
Use clear names, consistent placement, and searchable digital records to stop guessing what is inside every container.
Need more labels? Buy additional TapNota pre-coded packs on Amazon. Scan one label to activate your entire pack instantly.